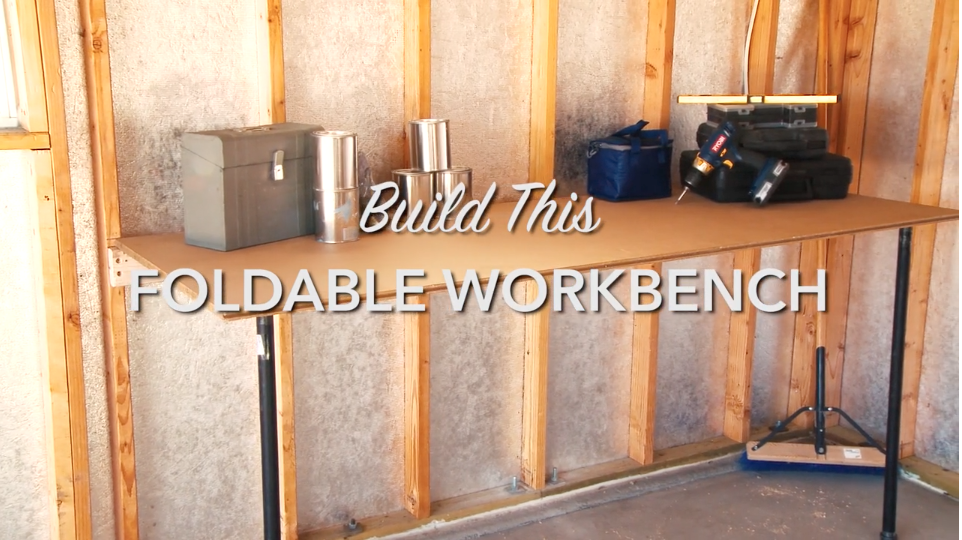
A great workspace for a small garage! You always have the option to add shelving or workbench upgrades to your Tuff Shed building. If you decided not to add the shelves at the time of your purchase, or you simply want to spruce up your current garage or shed, this project is just right for you. This folding workbench takes up minimal space when folded down, but provides the perfect work area when assembled. With a little planning, this simple project will only take half an hour.
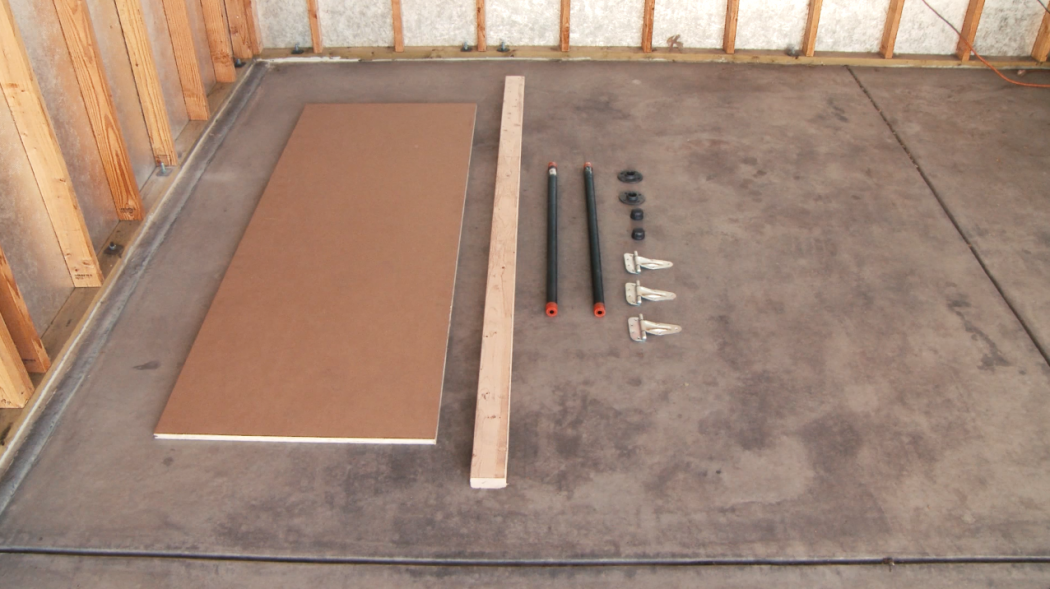
Here’s what you’ll need:
- Board for Table Top
- 2×4 Stud
- (2) 36″ Galvanized Pipes
- (2) Flanges
- (2) Pipe Endcaps
- (3) Heavy Duty Hinges
- #10 3/4 Wood Screws
- Pencil
- Level
- Measuring Tape
- Drill
- Saw
We found it was best to take inventory of all the components before beginning the project and laying them out in stages. Since there are so many components and exact measurements are necessary, we wanted to make sure we got it right. Our motto for this workbench project was “Measure twice, cut once.”
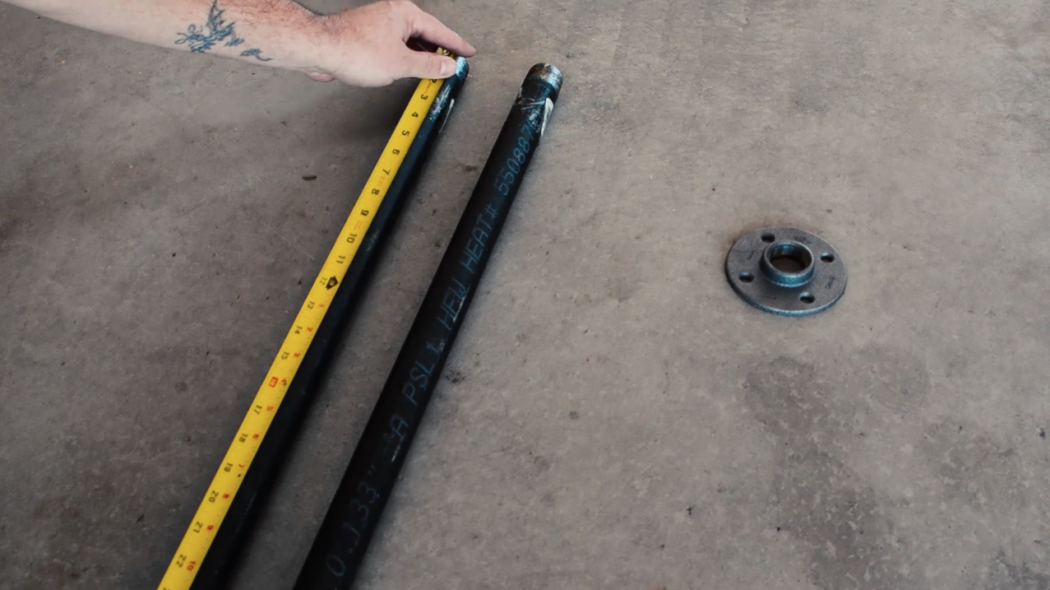
To begin, we measured the legs with the end caps on to account for the full height. We also measured the width of the board. The total of these two measurements add up to be the final height of the workbench table.
Once you have the height determined, mark it on the wall where the workbench will be installed.
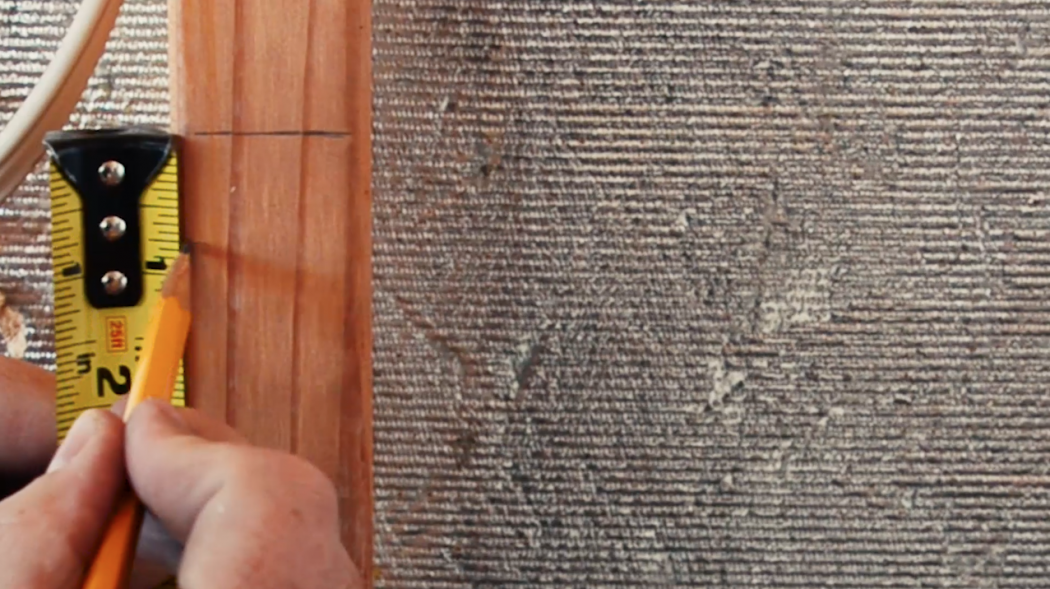
Let’s prepare the cross brace for the tabletop and hinges. Place the 2×4 on the marks you just made for the height, level it and make any adjustments necessary for your marks. Take your pencil and lay down marks on the 2×4 with a line that is on center with each wall stud. Also place a mark at the end of the stud where you want the 2×4 cut so that it is flush with the wall stud. Cut your 2×4.
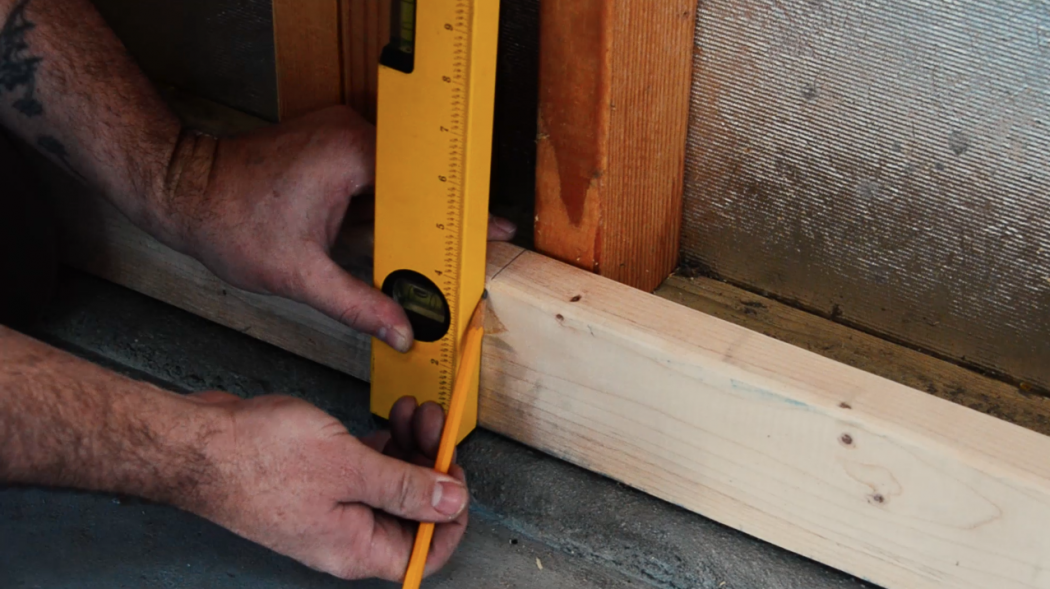
To ensure a secure connection between the cross brace and the wall studs we drilled 1/2 inch holes into the cross brace where the wood screws go. This allowed us to counter sink the screws into the wood. Once you have drilled out holes, attach the 2×4 to the wall with wood screws. We used #10 3/4 wood screws.
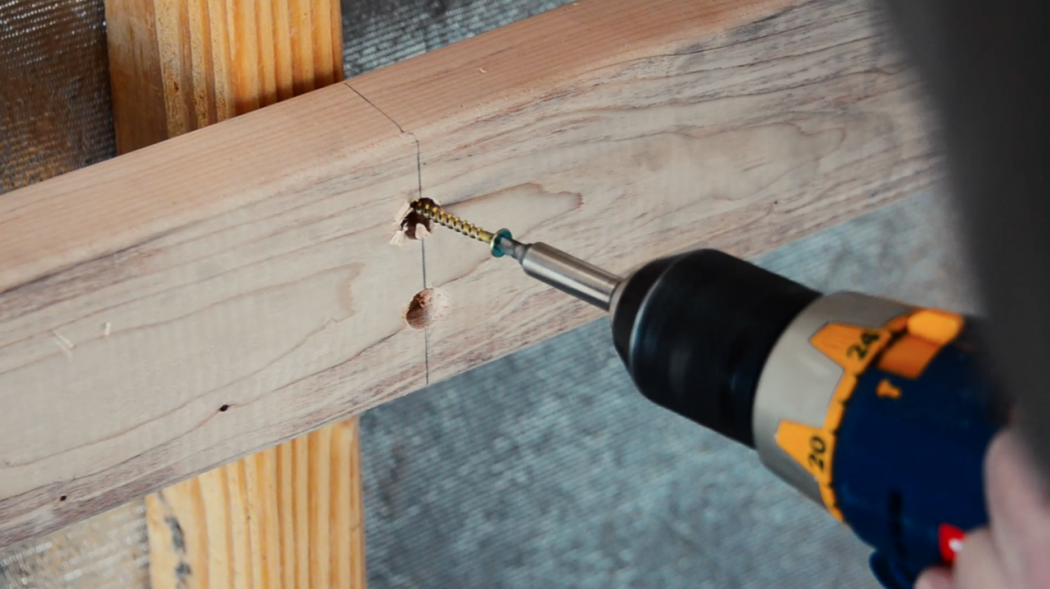
Next, you’ll need to attach the flanges to the underside of your table. Measure an equal distance and mark the space where the flanges will be attached. Be sure to use a screw that will provide a secure hold for the flange without screwing through the wood and out the other end.
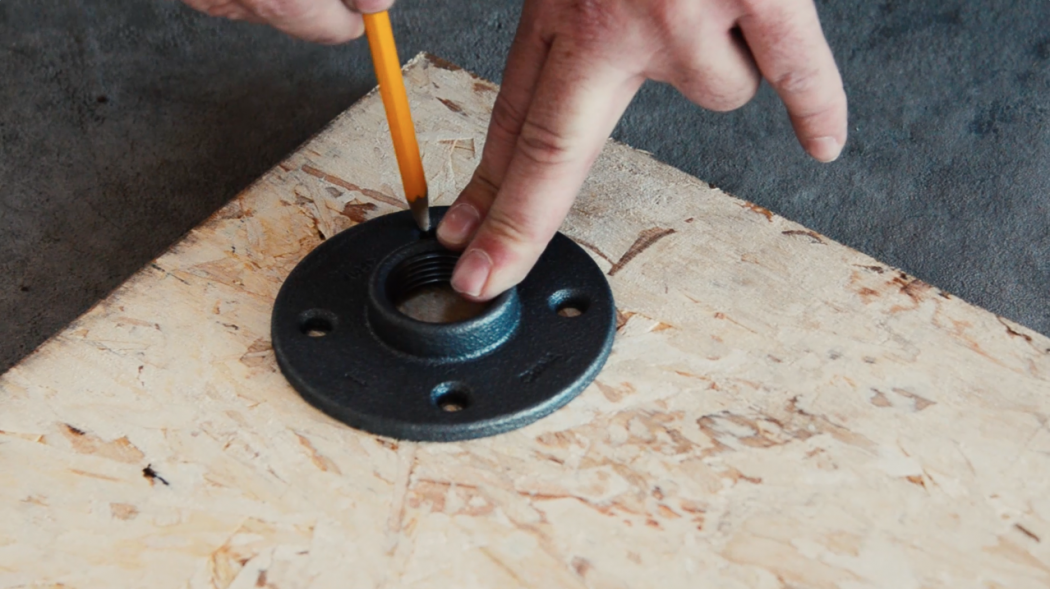
Once the flanges are attached securely on the underside of the table, attach the legs and end caps. Because all of these components are threaded, you’ll be able to adjust the height of the table for any variations in your floor. We found that our garage floor was slightly slanted and adjusted the end caps for a level work surface.
Place the table on the secured 2×4 and mark where the hinges will be placed on the underside. After you finish measuring and marking the hinges, take the table off the 2×4.
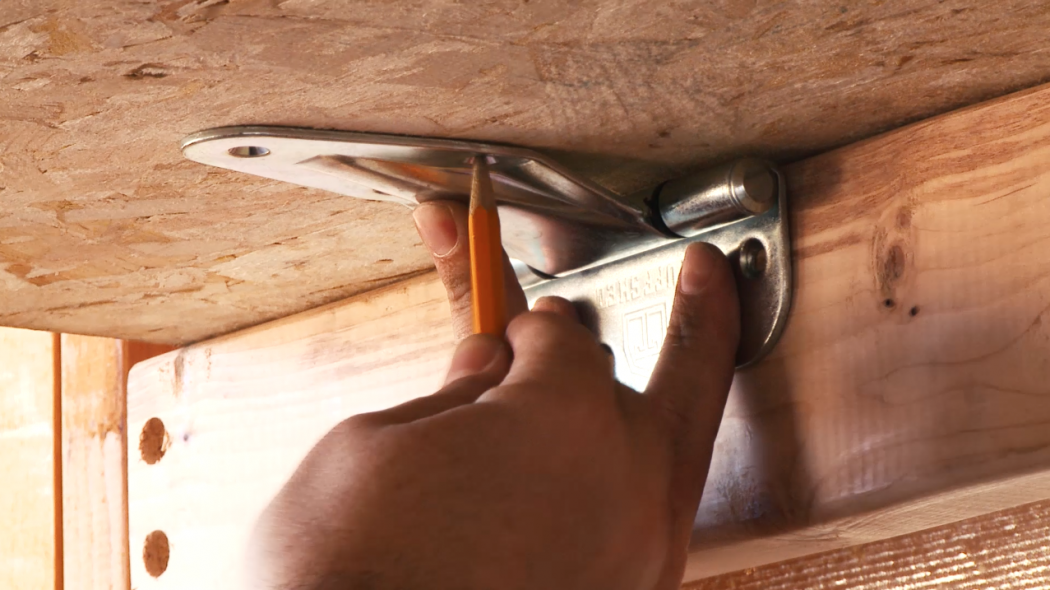
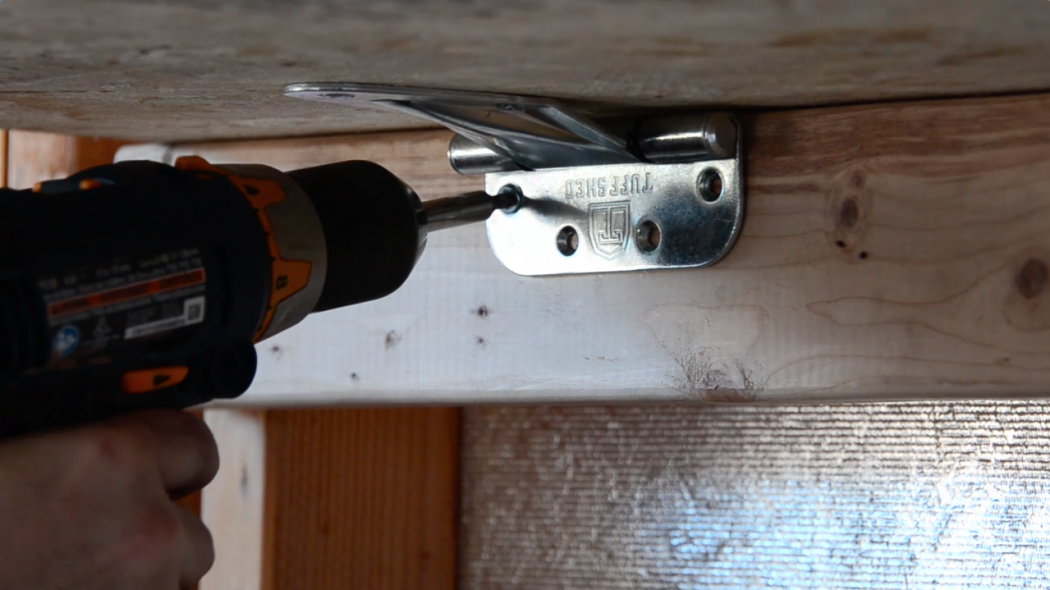
Place the tabletop on the ground and attach the hinges in the marked sections. Then place the tabletop back on the 2×4 and secure the hinges onto the board as well.
Your workbench is finished! When you’re finished using your table, simply unscrew the legs from the flanges and lower the table top down. Easy!
[av_video src=’https://www.youtube.com/watch?v=3sCz8-f7Vu0′ format=’16-9′ width=’16’ height=’9′ custom_class=”]


